How to Build Your First LEGO MOC: A Beginner Guide to Designing Your Own Creations
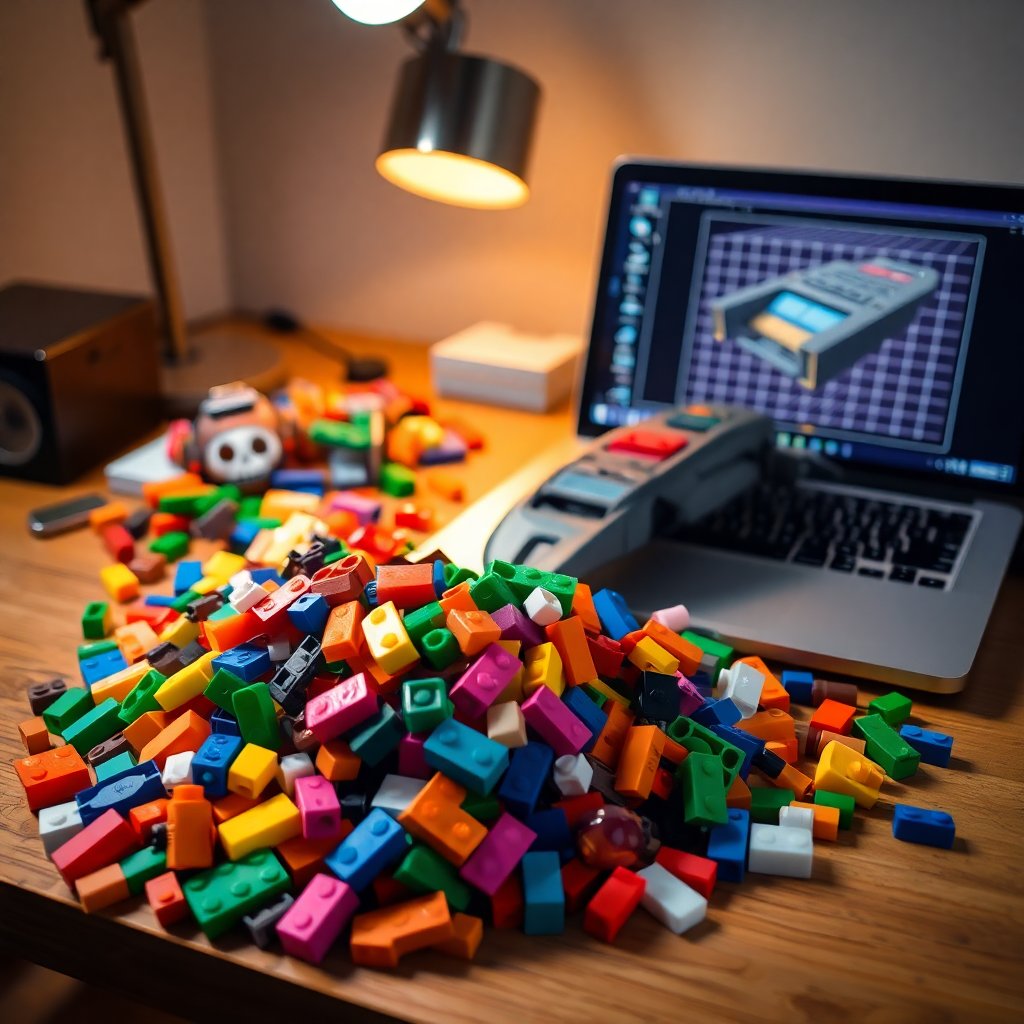
Most adult LEGO fans start by building sets exactly as the instructions say. Then, one day, the instructions run out. A set comes apart for storage, a pile of bricks builds up on the desk, or an idea arrives that no official set covers. That is the moment to try a MOC.
MOC stands for My Own Creation: anything you design and build yourself rather than following official instructions. It can be a tiny microscale spaceship, a custom room for a modular street, or a full display diorama. The fun of MOCs is that there are no rules beyond the ones you set, but a little structure makes the first one far less frustrating.
This guide walks through a practical process for building your first MOC, from picking an idea to sharing the finished build.
Affiliate disclosure: some links below are Amazon affiliate links. The Brick Slayer may earn a small commission if you buy through them, at no extra cost to you.
Step 1: Pick a Small, Specific Idea
The most common mistake on a first MOC is starting too big. A full-size castle or a starship the length of your arm is a great long-term goal, but it needs thousands of parts and a lot of problem solving. Your first MOC should be something you can finish in a weekend.
Good first MOC ideas:
- A vignette: a small scene on an 8x8 or 6x6 base, such as a market stall, a campsite, or a corner of a room
- A microscale build: a tiny spaceship, a car, or a building where one stud is a meter or more
- A modification: a new interior for an existing set, an extra room, or a redesigned vehicle
- A desk object: a pen holder, a small sign, or a phone stand
Write down one sentence describing the build. "A tiny lighthouse on a rocky island, about 10 studs wide" is a much easier brief than "something nautical."
Step 2: Choose a Scale
Scale decides almost everything else: how big the parts are relative to the subject, how much detail fits, and how many pieces you need.
- Minifigure scale: sized for minifigures. Most official City, Star Wars, and modular sets use it. Large and part-hungry, but very satisfying.
- Microscale: subjects shrunk way down, so a single plate or tile stands in for a whole wall or wing. Great for beginners because it uses few parts and rewards creative part use.
- Miniland or large scale: bigger, sculpture-like builds. Better saved for later.
For a first MOC, microscale or a small minifigure-scale vignette is the sweet spot.
Step 3: Use the Parts You Already Own
You probably have more parts than you think. Older sets, partially built sets, and loose bricks are all fair game. Sort what you have before you start designing, because knowing your available colors and shapes saves a lot of trial and error. Our guide on how to organize LEGO bricks covers sorting by part type, which is the method most MOC builders prefer. If your collection came from a bulk lot or a secondhand haul, sorting used LEGO bricks explains how to clean and separate them first.
If your parts collection is thin, a general-purpose LEGO Classic box is a budget-friendly way to add a wide range of basic bricks in many colors. The LEGO Classic Large Creative Brick Box (10698) has been in production since 2015 and, per Brickset, is still listed as available at retail with no announced exit date, so it should be easy to find at or near list price.
→ Shop LEGO Classic Large Creative Brick Box 10698 on Amazon
Baseplates and plates are the other parts most beginners run short on. A few flat building plates give your MOC a foundation.
→ Shop LEGO-compatible building plates on Amazon
Step 4: Plan It Digitally (Optional, but Helpful)
You do not need software to build a MOC, but digital design tools make planning easier, especially once you need parts you do not own yet.
BrickLink Studio is a free digital building program from BrickLink, which is part of the LEGO Group. It lets you place virtual bricks in 3D, check what parts and colors exist, generate a parts list, and even create step-by-step instructions. A few tips for first-time users:
- Start from a baseplate and build upward, just like a real build.
- Use the part search by name or number, and watch the color palette. Not every part exists in every color.
- Check the stability tool if available, and do a real-world test of anything structural.
- Export a parts list when you are done. You can compare it against what you own and order the rest.
Many builders sketch the outline digitally and then finish the details with real bricks, which is often where the best ideas appear.
Step 5: Learn a Few Core Techniques
Official sets are a great textbook. Every set you have built uses techniques you can borrow. These are the ones that make the biggest difference on a first MOC.
Studs Not On Top (SNOT)
SNOT means building sideways using bricks with studs on their sides, brackets, and similar parts. It lets you attach details to walls, create smooth surfaces, and build shapes that would be impossible with stacked bricks alone. Even one or two SNOT details make a MOC look far more polished.
Greebling
Greebling is adding small, technical-looking parts such as grilles, clips, and levers to surfaces to suggest complex machinery. It is especially popular on spaceships and sci-fi builds and is a forgiving way to make a plain surface interesting.
Texture and Color Variation
Real walls, ground, and rock are not one flat color. Mixing two or three similar shades, using different part shapes, or adding a few tiles breaks up a surface and makes it read as more natural. This works especially well for stone walls and landscape bases.
Tiling for a Finished Look
Covering the top of a build with smooth tiles hides studs and gives the MOC a clean, official-set look. A mix of tiles and studs often looks better than either alone.
Step 6: Build, Test, and Rebuild
Your first version will not be your last. Build it, look at it from all sides, and change what is not working.
- Check stability. Pick it up gently. If parts fall off, add plates to tie sections together.
- Look for awkward gaps. Fill them with slopes, tiles, or small detail parts.
- Step back. Look at the build from across the room. Sometimes a detail that looks great up close disappears at a distance, and vice versa.
- Take breaks. Coming back after a day often makes the solution obvious.
A brick separator is worth having nearby, because you will be taking a lot of small pieces apart.
→ Shop LEGO brick separators on Amazon
Step 7: Source Missing Parts
Once you know exactly which parts you are missing, you have a few options:
- LEGO Pick a Brick: official individual parts, sold directly by LEGO.
- BrickLink: a large marketplace for individual parts from many sellers. Your Studio parts list can be uploaded directly as a wanted list.
- Swap a color: often the simplest fix. If a part does not exist in your color, consider a nearby shade.
- Rethink the build: sometimes a missing part pushes you toward a better design.
Keep your first order small. It is easy to overspend on parts for a MOC that may change three more times.
Step 8: Display and Share Your MOC
A finished MOC deserves a good photo. A simple white backdrop, soft light, and a slightly low camera angle make even small builds look impressive. Our guide on how to photograph LEGO sets covers lighting and camera settings that work for MOCs too.
Places to share your MOC:
- Rebrickable: a large community database where builders post MOCs, often with parts lists and instructions.
- LEGO Ideas: the official LEGO Ideas platform lets fans submit original designs. A project that reaches 10,000 supporters gets reviewed by LEGO for possible production.
- Social media and local fan groups: LEGO User Groups and online communities are very welcoming to first-time MOC builders.
Storing Parts for Future MOCs
Once you build one MOC, you will want to build another. A simple sorting system pays off quickly. Clear, divided storage boxes by part type (plates, bricks, slopes, tiles, technic, details) are how most experienced MOC builders organize.
→ Shop divided small parts storage boxes on Amazon
The Bottom Line
Your first MOC does not have to be big or perfect. Pick a small, specific idea, use the parts you already own, borrow techniques from official sets, and rebuild until you are happy. Tools like BrickLink Studio make planning easier, and a few basic accessories like plates, a brick separator, and a parts organizer smooth out the process. Once you finish one, you will start seeing MOC ideas everywhere.
The Brick Slayer is an Amazon Associate and earns from qualifying purchases. This article contains affiliate links; if you buy through them we may earn a small commission at no additional cost to you.
Keep leveling up
More From the Workshop
Set reviews, release dates, and the gear builders trust.