How to Repair Broken LEGO Pieces: Fix Cracks & Clips
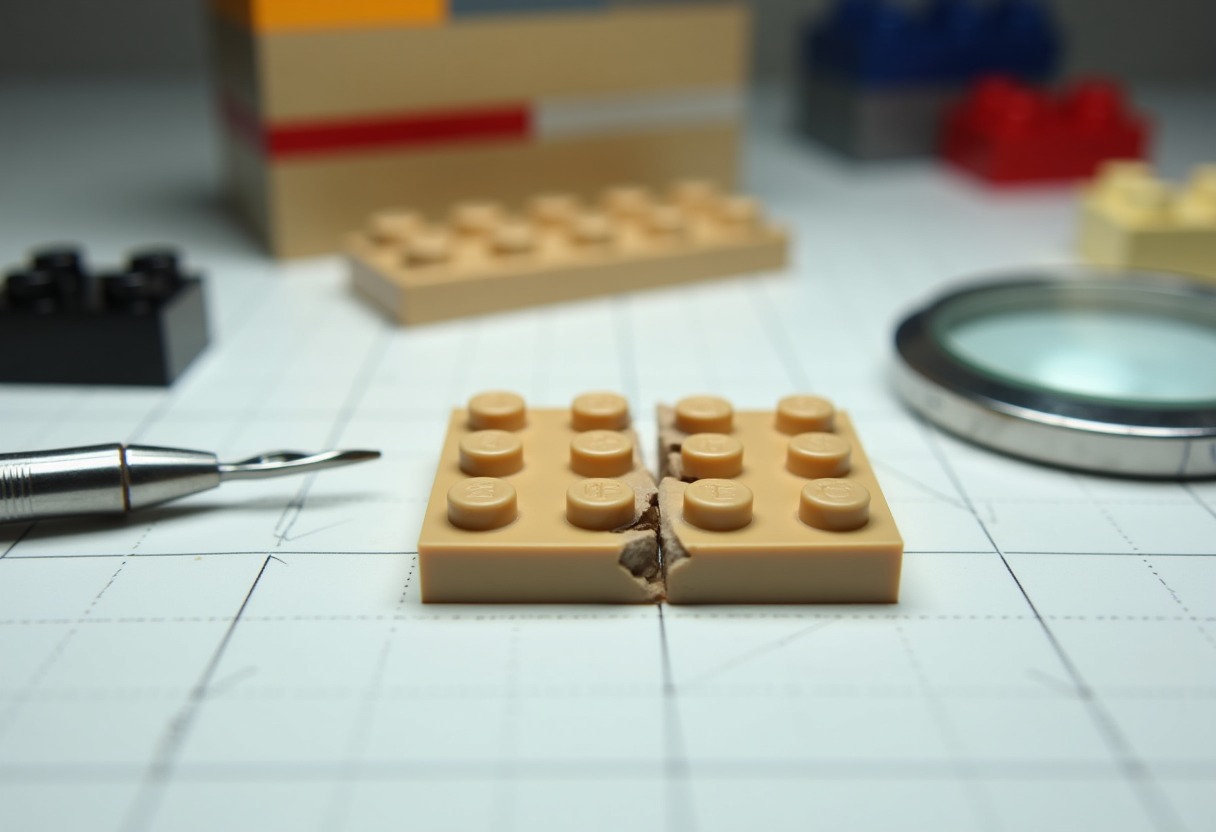
A snapped clip on a rare minifigure accessory or a hairline crack in a vintage Space Police windscreen can turn a pristine display build into a parts bin casualty. Most AFOLs face broken LEGO pieces at some point—whether from stress during complex builds, age-related brittleness in older ABS plastic, or simple accidents during How To Clean Lego Sets sessions.
Why LEGO Pieces Break and When Repair Makes Sense
ABS plastic, the material LEGO has used since 1963 according to LEGO's own manufacturing history, becomes brittle over time through UV exposure and thermal cycling. Sets stored in attics or displayed in direct sunlight develop microscopic stress fractures that propagate during normal handling. Clips and hinges fail most frequently—the small contact points concentrate force during assembly and disassembly.
Not every broken piece warrants repair. Common bricks in current production cost pennies on BrickLink. But repairing makes absolute sense for discontinued colors, rare prints, expensive Technic gears, or pieces integral to display builds where replacement breaks visual continuity. A cracked trans-light blue windscreen from a 1980s Space set might cost $15-30 in good condition—if you can find one.
The durability difference matters for Lego Investing Which Sets Go Up In Value decisions. Sets with original, unrepaired pieces command higher resale prices, but a well-executed repair beats leaving obvious damage in display pieces.
Assessing Damage and Choosing Repair Methods
Before touching glue to plastic, understand what you're working with. Clean breaks with tight-fitting surfaces respond to cyanoacrylate adhesive. Stress cracks that haven't fully separated might only need reinforcement. Missing chunks require filling and rebuilding material.
Hold pieces under bright light at multiple angles. Hairline cracks invisible to casual inspection show up as thin dark lines when backlit. Flex the piece gently—if it moves at the crack line, you need adhesive. If it feels solid but shows a visible line, you might leave it alone unless aesthetics demand repair.
For clips and hinges, test the connection point. A slightly weakened clip that still grips might last years in a static display but fail under repeated use. Display builders can often work around weakened connections by positioning pieces to minimize stress, especially relevant when planning How To Display Lego Collection setups.
Repairing Clean Breaks with Adhesive
Cyanoacrylate super glue in gel form gives you the control needed for precision LEGO repairs. Liquid CA runs into unwanted areas and creates visible residue on ABS plastic. Gel stays where you place it and allows 10-15 seconds of positioning time before initial grab.
The repair process requires methodical preparation. Wash broken surfaces with dish soap and water, then dry completely—skin oils and dust prevent proper bonding. Test-fit pieces without glue to identify alignment. Mark the top surface with a pencil so you maintain orientation during the 30-second window when gel is workable.
Apply gel to one surface only, using a toothpick or pin to spread a thin, even layer. Less is more—excess glue squeezes out under pressure and creates visible beads. Press pieces together with steady pressure for 60 seconds. For clips and small parts, → Shop precision hobby tweezers on Amazon give you the control to hold tiny pieces without fingerprints in fresh adhesive.
Full cure takes 24 hours. After 15 minutes of partial cure, use a fresh → Shop LEGO brick separator tool on Amazon to carefully scrape away any squeeze-out while it's still slightly pliable. Once fully hardened, CA requires cutting tools to remove.
For structural pieces that bear load—Technic pins, clip joints in large builds—consider → Shop plastic cement for modeling on Amazon. Unlike CA which forms a surface bond, plastic cement actually melts and fuses ABS, creating a molecular bond. It requires 48-hour cure time and more careful application, but the joint often exceeds original strength.
Repairing Cracks, Clips, and Specialized Damage
| Damage Type | Best Repair Method | Strength Recovery | Visibility Risk | |-------------|-------------------|-------------------|-----------------| | Clean break on solid brick | Gel CA with 24hr cure | 85-95% of original | Low if surfaces clean | | Stress crack (not separated) | Thin CA wicked into crack | 60-75% reinforcement | Medium—creates dark line | | Snapped clip or hinge | Plastic cement fusion bond | 70-90% of original | Low on hidden surfaces | | Missing chunk or corner | Two-part epoxy putty rebuild | 40-60% structural | High—requires painting |
Stress cracks that haven't fully separated present a judgment call. Wicking thin CA into the crack reinforces the area but permanently darkens the crack line as adhesive fills microscopic voids. On trans-clear or white pieces, this creates visible damage markers. For dark colors or pieces hidden in builds, the tradeoff favors reinforcement.
Snapped clips require the most precision. The small contact area means even slight misalignment creates binding. Use a magnifying glass and bright light. Apply minimal adhesive to avoid overflow into the clip mechanism itself—hardened glue in the gripping surface renders the repair useless.
Pin a reference photo at eye level during repair to maintain exact angles. For axle holes and pinholes, insert the corresponding piece (a Technic axle or pin) before glue sets to maintain dimensional accuracy. Remove it after 5 minutes when the bond has initial grab but before full cure locks it in permanently.
Finding Replacement Parts vs. Repairing
Sometimes replacement beats repair. BrickLink's marketplace connects you with sellers worldwide offering individual pieces, often for less than the cost of your time and materials. Search by part number—every LEGO element has a unique identifier visible in building instructions or through Brickset's part database.
Compare replacement cost against repair feasibility. Common 2x4 bricks cost $0.02-0.08 each. Rare colors or prints might hit $5-50. Discontinued Technic gears from specific sets command premium prices. For anything under $2, replacement usually makes more sense unless you're preserving completely original components for collection value.
→ Shop replacement LEGO parts on Amazon offers grab bags and common pieces, though BrickLink provides vastly better selection for specific needs. Official LEGO customer service will replace broken pieces from recent sets free of charge—contact them with your set number and request specific elements.
For display builds where visual continuity matters more than structural integrity, consider whether the damaged piece is visible. A cracked brick buried three layers deep in a build needs no repair. That same crack on a prominent façade element demands attention. When planning How To Light Lego Display setups, remember that LED backlighting makes cracks and repairs more visible, not less.
Advanced Techniques for Valuable and Vintage Sets
Vintage LEGO from the 1970s-1990s presents unique challenges. The ABS formula varied slightly over decades, and some color batches developed brittleness faster than others. Old red and brown pieces particularly suffer from degradation—the pigments used in those eras seem to accelerate plastic breakdown.
For irreplaceable vintage pieces, use reversible techniques when possible. Cyanoacrylate dissolves in acetone, allowing future repair attempts if your first try fails. Plastic cement creates permanent fusion bonds with no reversal option. Museum conservators use reversibility as a core principle—apply the same thinking to truly rare LEGO pieces.
Temperature matters during repair. Work in 65-75°F environments. Cold plastic develops internal stresses during cure that weaken bonds. Hot environments speed cure times so much that you lose working time for proper alignment.
For pieces that require filling—missing corners, deep gouges—two-part epoxy putty works better than filling adhesives alone. Mix equal parts, knead until uniform color appears, then mold into the gap. Epoxy cures rock-hard but requires sanding and painting to match LEGO's surface finish. This makes it suitable only for non-visible repairs or pieces you're willing to customize.
UV-cure adhesives offer another option for clear pieces. These liquid plastics harden instantly under UV light, allowing precise placement and immediate strength. They work well for trans-clear windscreens and canopies where traditional CA creates clouding. → Shop cyanoacrylate super glue gel on Amazon remains the versatile choice for 90% of repairs.
Storage affects future breakage. Pieces stored in temperature-stable, dark environments maintain integrity far longer than those subjected to attic temperature swings or UV exposure. The Lego Storage Sorting Guide covers optimal storage conditions that prevent damage before it starts.
FAQ
Can you repair LEGO pieces without glue showing? Yes, if you prep surfaces properly and apply minimal adhesive. Clean both surfaces with soap and water, dry completely, then use gel CA applied with a pin or toothpick in the thinnest possible layer. Excess glue creates visible beads and clouding on ABS plastic—less adhesive produces cleaner results than more.
Will repaired LEGO pieces hold together during building? Properly repaired pieces typically recover 70-95% of original strength depending on damage type and repair method. Clean breaks bonded with plastic cement often exceed original strength. Repaired clips and hinges work fine in static displays but may fail under repeated stress during play or frequent rebuilding.
What's the strongest glue for broken LEGO bricks? Plastic cement designed for model kits creates the strongest bond by chemically welding ABS plastic together. Gel cyanoacrylate super glue comes second but offers faster cure times and easier application. Avoid general-purpose adhesives and hot glue—they create weak bonds that fail under stress.
Should I repair vintage LEGO pieces or buy replacements? Repair makes sense for rare colors, discontinued parts, or pieces costing $5+ to replace. For common pieces under $2 on BrickLink, replacement preserves collection value better than visible repairs. Original, unrepaired pieces command higher resale prices if you're collecting for investment rather than display.
How do you fix a LEGO clip that keeps popping off? If the clip hasn't broken but weakened, the molding has likely deformed from stress. You can't restore original grip strength, but reinforcing the stressed area with thin CA wicked into visible cracks helps. For truly worn clips, replacement costs $0.10-0.50 on BrickLink and works better than attempted repairs.
Broken LEGO pieces don't have to end up in the parts bin—strategic repairs extend the life of rare elements and maintain display integrity when replacement breaks visual flow.
Some links on this page are affiliate links. We may earn a small commission if you purchase through them, at no extra cost to you.
The Brick Slayer is an Amazon Associate and earns from qualifying purchases. This article contains affiliate links; if you buy through them we may earn a small commission at no additional cost to you.
Keep leveling up
More From the Workshop
Set reviews, release dates, and the gear builders trust.